Thursday 14 August 2014

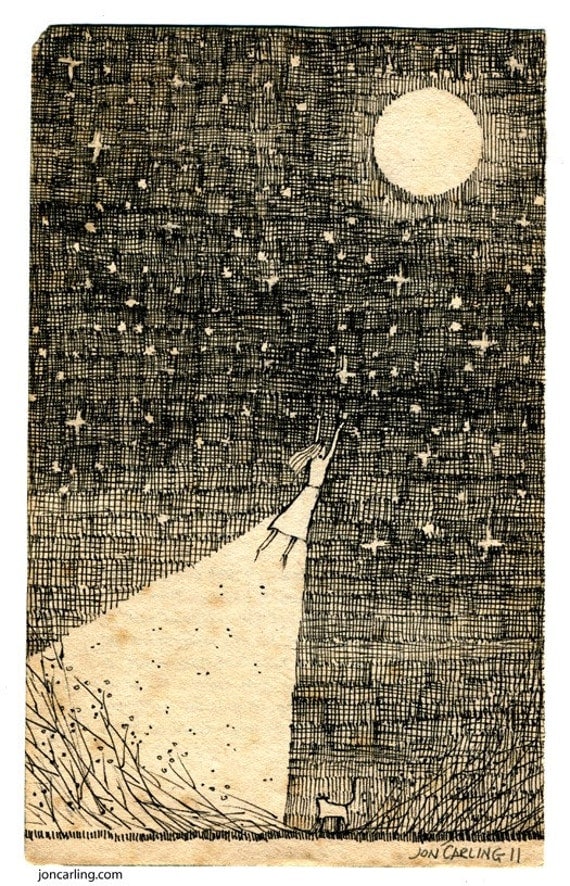
Finding hope


Lately it has become almost unbearable to follow the news and current affairs; from the terrible fights in Gaza, to the heartbreaking news of Robin Williams death, it seems that everywhere we turn we are faced with stories of tragedy and suffering.

However I feel it is important at times like this to appreciate human acts of true kindness and good will - because if you really look hard enough you will see that these are taking place everywhere too, its just we have come to overlook and dismiss them as we go about our day to day lives.


This week I have a personal story of kindness that I wish to share:

I have recently taken an interest in bees and beekeeping, and since I am about to embark on the third year of my art degree, I have decided to make this the theme and focus of my work. Over the summer I have been researching and gathering information about all things bees - from scientific information about all the different species, to ancient bee keeping traditions, folklore and myths. 

During my research I found some pictures of these beautiful bee skeps, which were traditionally used to keep bees in as well as moving swarms of bees back into a hive. The bee skeps are made by hand using straw and cane, however it is something of a dying craft as modern wooden hives are now more popular and skeps are not used so often.


I have a fondness for traditional crafts and therefore was delighted to stumble across the comprehensive website of Martin Buckle - an experienced bee keeper and talented skep maker. I decided to email him and enquire about doing some work experience or a one to one skep making course with him. I was keen to not only learn how to make a bee skep - but also to gain an insight into the life of a craftsman and how his beekeeping and skep making became more than a hobby but a way of life.


To my surprise Martin not only agreed to offer me one to one tuition in skep making, he also kindly offered for me to stay in his home with him and his wife for a few days instead of booking into a hostel.


I intend to write a separate blog post with lots of pictures and examples of the skeps and other creations I made during my stay with Martin, but for this post I just want to focus on how kind and gracious Martin and his wife were to me. I was not expecting him to offer me one to one tuition - however not only did he provide that, he also graciously welcomed me into his home, sharing his stories and endless wealth of knowledge and experience and sent me off equipped with tools and materials and plenty of inspiration  for continuing my work. 

Getting to know Martin and his wife Pam was an absolute pleasure - they were such an interesting couple and we found plenty to talk about. They refused any offer of payment for my stay or the tuition and materials that Martin gave me, insisting that it had been simply nice to have me there.

Experiences like this may be rare but I really feel that if everyone became a little more open to trusting the kindness of others, to making the effort to share and connect with someone you may initially have thought you had nothing in common with, then we could all gain so much.

It is important in times of darkness to hold on to every moment of joy and wonder. A smile from a stranger, a conversation with a shopkeeper, hearing the laugh of a child or having a hug from someone you love - these tiny, overlooked snippets of hope and love should not be dismissed, should not be overlooked. Just because they do not speak to us as loudly as some of the shocking headlines of the news it does not make them any less important or valuable. Appreciate every act of kindness, reflect on and soak up every brief flash of happiness, even if it last just second - it is precious and should be treated as such.


Saturday 12 July 2014

Cocktail Time!


Some of the cocktails I see popping up on Pinterest lately look almost too pretty to drink! My friend is the absolute queen of cocktails so the birthday card I made sure her birthday card was a reminder of that!
Unfortunately I applied a filter to the photo of the card that I now can't remove and I don't have the original photo so the colours aren't very nice. Lesson learnt : instagram doesn't always transform your photos for the better...


And here are some links to some yummy looking cocktails:


Wednesday 18 June 2014

DIY Festival bum bag


It's an exciting thought that this time next week I will be with all my friends at Glastonbury Festival! Hopefully I will be sat on a stone of the Stone Circle - watching the sunset and enjoying the buzz of the crowd. Last year was my first time at Glastonbury and I was so apprehensive before I went, however like most people do I fell in love with it and could happily spend every summer going!


I thought I'd share with you a DIY I made last week in preparation for the festival - an essential accessory for carrying any valuables or vitals that you need close to hand. Bum bag/fanny pack -whatever you want to call them, they are definitely a must have for any festival.


Mine was made using completely recycled materials - the embroidered fabric was from an old dress that I used to love but had a stain on it; the lilac fabric was from a throw that used to cover my sofa!


Ralph my Cat helping me make the bum bag!


You will need:

Pretty fabric or material  (at least 25cm x 10cm)
A zip that measures the same length as your chosen fabric
A belt (this can be a belt you already own or a new one. You could also use some brightly coloured bias binding or some pom pom trim would look great too!)
Extra fabric for belt loops (7cm x 2cm)

Step 1 
Cut two pieces of fabric so that they are the same size and shape. You can make the bum bag as big as you need - the one here measures 15cm x 30cm which is quite a nice size as I can fit my purse, ID, phone and anti bacterial hand gel in it!


Step 2
Pin your zip in between the two lengths of fabric making sure that the front of the zip is on the same side as the front of your fabric


Step 3
Sew on your zip. I used a sewing machine but you could hand sew ; just make sure you use strong thread and perhaps do more than one line of stitching to make sure it is secure.

Step 4
In order to create belt loops, take two strips of fabric and cut them into equal lengths measuring roughly 7cm x 2cm. The length of these can vary depending on how thick your belt is but don't make them too thin as they need to be strong.


Step 5
Pin the belt loops onto each end of one of the rectangles of fabric. Make sure they are at least 1.5cm away from the edge to allow for seam allowance. Once you are happy with the position, stitch across the end of each loop several times so they are firmly attached. It is important that the belt loops are strong enough so if your fabric is quite thin it may be worth doubling it up to create the loops which is what I had to do with mine.


Step 6
Pin together your bum bag around each edge so the front side of each rectangles are facing each other and on the inside. At this point make sure you open the zip so you will be able to turn your bum bag the right way once you have finished!

Step 7
Sew neatly around edges making sure the seams are even. Turn the bag inside out through the open zip. It should now just resemble a finished purse!

Step 8
Thread your belt through the loops and ta da! One complete festival bum bag! The good thing about this design is that you can either change the belt or make more than one bum bag for the same belt so that you can have one to match every pre planned festival outfit!


I did have a photo of me modelling the bum bag but I looked a bit weird so I'll upload a better one of me using it soon!


I hope you enjoyed the DIY - make sure you also check out my DIY festival water bottle holder here

Sunday 15 June 2014

To Dads who like adventures!

My Dad has always been one for adventures... not always intentionally I should add - the majority of his mad escapades resemble episodes of Fawlty Towers or Mr Bean! However this summer he really has undertaken a big adventure by embarking on a voyage around the United Kingdom with friends. I think it was my Mom's idea originally although I don't think she thought the trip would be planned and followed through so quickly! Nonetheless all the crew have had fun so far and no doubt my Dad's determination and energy has spurred everyone on! You can follow his adventures on the Yacht Raven at his own blog here: 

Dad, I have missed you whilst you have been away and look forward to seeing you next weekend and hearing all about your travels! Here is a sneak peek of your Father's Day card!


Saturday 14 June 2014

The colour black

 Black

1.
lacking hue and brightness; absorbing light without reflecting any of the rays composing it.


2.
characterized by absence of light; enveloped in darkness: a black night.


Today's colour is black. Quiet, practical, composed, ambiguous, conservative, uncertain, bold.
Black is a contradiction - it is both the combination of all the colours and the absence of any colour. It is commonly associated with negativity, mourning, solemnity, hopelessness. Yet black is also hope. It could be hiding a million possibilities. Black only exists in our imaginations - there is nothing in the natural world that is completely black.  


 Things that are good that are black:

Black cats
Blackberry and apple stew made by my Mum
Black patent shoes
'Blackbird' by the Beatles
Black Indian ink
A black starry sky.